In Browser Signature Capture
From All n One's bxp software Wixi
Contents
1 Overview
bxp now has the ability to allow for in browser signature capture on bxp templates, and also trigger an automatic download of a PDF document containing the signature that was captured.
Please note that older browsers may not be able to render the signature capture tool, but this has been tested as far back as Android 3.0 (honeycomb)
2 Set up
In order to enable the signature capture option on a bxp template you must first set the Enable Signature Capture setting to True.
Once this is set to True bxp will know to render the Capture Signature on PDF after the user has saved a record to the database. When creating your bxp template you have two changes that you will need to add to your bxp template, these two changes are to show were to render the signature captured and the data and time of the signature.
In your template simply add --bxp_Signature_Capture--, to wherever you want the signature captured to render. The next replacement you have is --bxp_Signature_Capture_DateTime--, simply add this to wherever you want the date and time of the signature to render.
3 In Template Replacements
--bxp_Signature_Capture-- = This will be replaced with the first signature captured
--bxp_Signature_Capture_DateTime-- = This will be replaced with the date and time that the first signature was captured
--bxp_Signature_Capture_Add1-- = This will be replaced with the second signature captured
--bxp_Signature_Capture_DateTime_Add1-- = This will be replaced with the date and time that the second signature was captured
--bxp_Signature_Capture_Add2-- = This will be replaced with the third signature captured
--bxp_Signature_Capture_DateTime_Add2-- = This will be replaced with the date and time that the Third signature was captured
4 Accessing the Signature tool
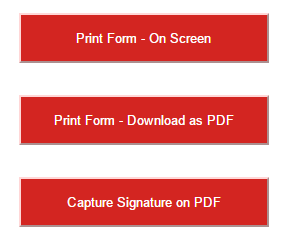
When saving a record with an outcome that has a bxp template associated with it, and that the record was saved in one of the following modules Inbound, Outbound, Case Management and QA. The user will be presented with three buttons, to navigate to the signature capture page of bxp simply click on the button Capture Signature on PDF
5 Signature Capture Page
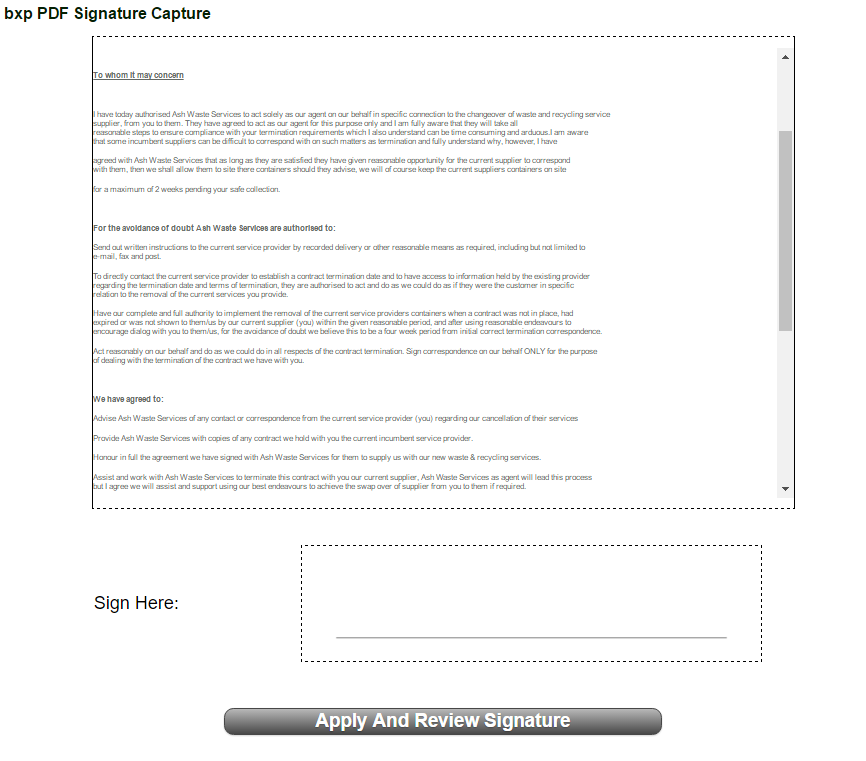
Once the user has successfully navigated to the signature capture page of bxp they will be presented with the contents of the PDF document so they can review the it and decide whether or not they want to sign the document.
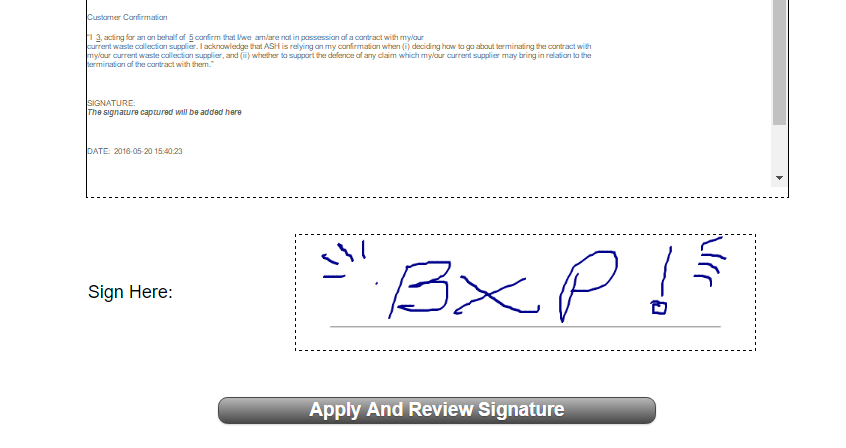
Once a signature has been added to the signature capture area of bxp, the user must click on the Apply and Review Signature button. This will reload the same page and contents of the PDF document on screen except this time the captured signature will be applied to the contents so they can be reviewed.
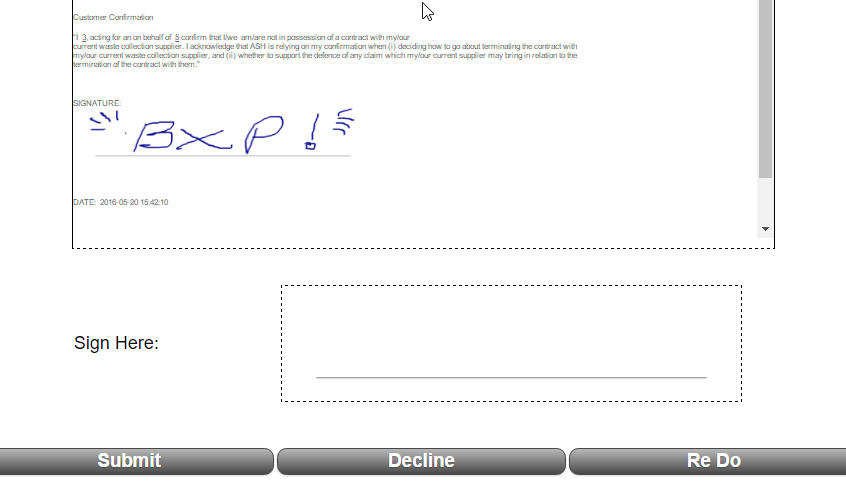
At this stage there is three options available to the user:
1) Submit - This will submit the signature to bxp and an automatic download of a PDF will be started, an exact copy of the PDF document including the signature will be stored in the contact history of the record
2) Decline - This will log a decline to sign against the PDF document, an unsigned version of the file will be downloaded and a copy of the unsigned PDF will be stored in the contact history of the record
3) Re Do - This allows the user to re-signed the page in the signature capture area and have a new signature applied to the document for review.


