Difference between revisions of "Form - Create from Excel"
From All n One's bxp software Wixi
Philip Lacey (talk | contribs) |
Philip Lacey (talk | contribs) |
||
| Line 24: | Line 24: | ||
| − | Alternately you can download the file directly to your desktop from here | + | Alternately you can download the file directly to your desktop from here [[File:Uk-100.xlsx]] |
Latest revision as of 09:02, 15 July 2015
1 Overview
bxp software (bxp) provides users with a blank form into which they can create any structure. This can be a little daunting for new users and people who aren't 100% sure of how the system works on first use. To make life easier we have provided a very simple system of building forms using an Microsoft Excel spreadsheet.
2 Sample Data
To start the process we will need some data to load. Contacts or people you want to contact will end up in an Excel spreadsheet.
A good free sample is available from http://www.briandunning.com/sample-data/ We're going to use the free 500 UK records to demonstrate with.
- Download the zip file.
- Open it up. Inside is a CSV file.
- Open the CSV up and then in Excel use File > Save As.
- Change the Save as type to be "Excel 97-2003 Workbook (*.xls) and save the file to your desktop.
Alternately you can download the file directly to your desktop from here File:Uk-100.xlsx
3 Construct the form
Now we need a form in bxp in order to manage this data. A form is the container which holds all of your campaign data.
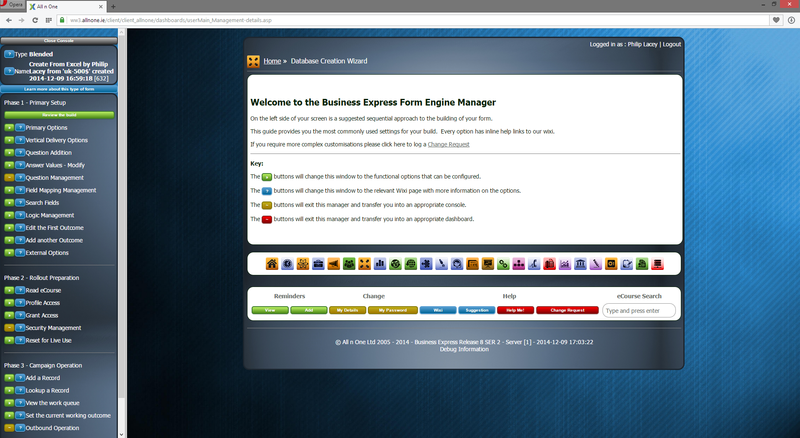
Log into bxp > Main Menu > Form Management > Form - Primary Management > Form - Create from Excel Spreadsheet >
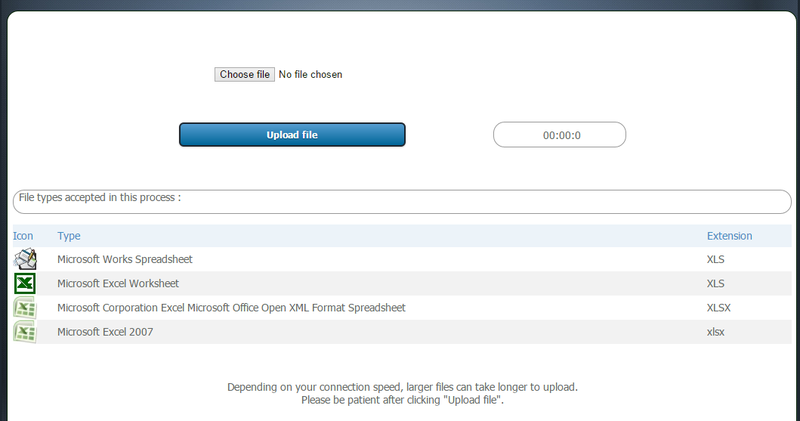
You'll then be asked to locate the Excel contact list. Find the file and then click the "Upload File" button.
When the file has successfully uploaded click "Create Data From Excel File"
You will then be given a set of options.
Choose the top option "Click here to edit this new form"
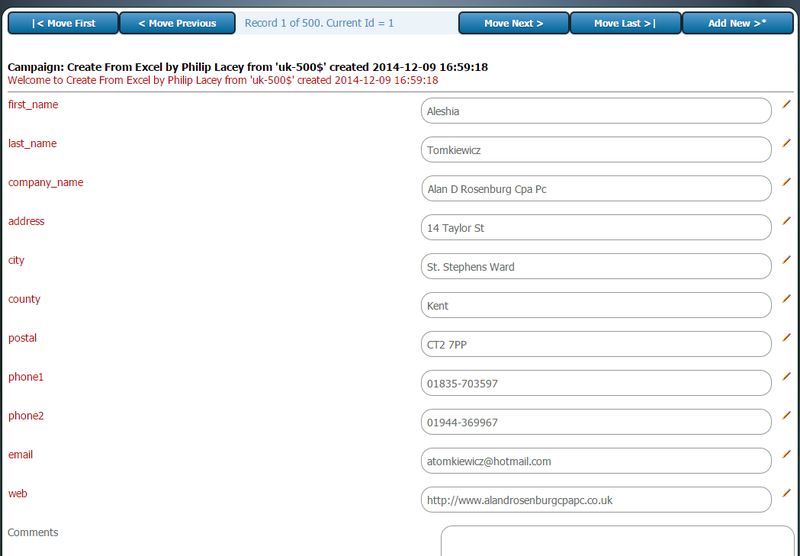
From the left click "Review the build" and your new form will present itself.
You can navigate through the data using the handy "Move Next Record" bar at the top. Click "Move First" and the records will display.


