ECourse - Custom Interface Buttons
From All n One's bxp software Wixi
Contents
1 Overview
Sometime our clients want to customise the main menu of bxp software outside what is available in the system
There is a way using eCourse to create a custom main menu from HTML and JavaScript.
This can then be applied using interface option number 23, to learn more about interface bars see below.
http://www.allnone.ie/wixi/index.php?title=Interface_Bars
2 Creating an eCourse Asset
From the main menu go to the following:
Main Menu > eCourse Management > Asset Management > Asset - Create - Text
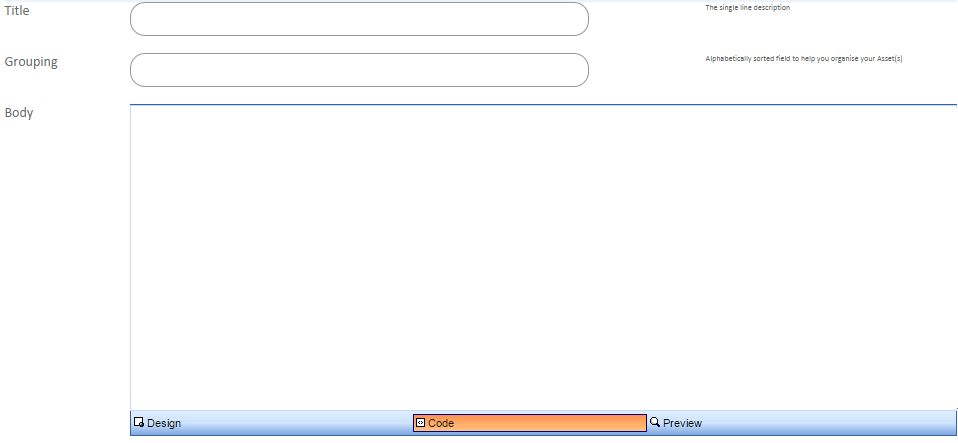
You will have to fill in a title and a grouping, call them something you will remember you will need them later.
Also you will have a large box called the body, see below.
There are three options at the bottom of the box, to build custom main menu select the code option.
This is where you will put your HTML and JavaScript code later.
For now just save the new eCourse asset with a title and grouping.
3 Creating a HTML Template
For this example we are using a template created for our Wixi.
We are going to build a simple table and add images and links to the table.
We will then apply some JavaScript to make the buttons resize when a user hovers over them. This gives a button effect.
It has three sections, CSS, HTML and JavaScript.
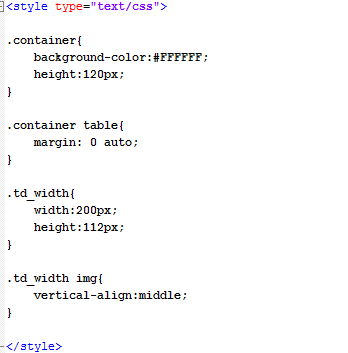
3.1 CSS
The CSS sets the style and layout of the objects.
3.2 HTML
The HTML draws a div and a table.
All elements have the CSS above applied to them.
Inside each table cell is a link and an image.
Each image has JavaScript applied to the onmouseover and onmouseout attributes.
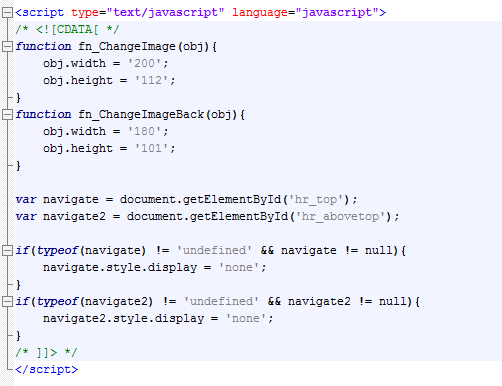
3.3 JavsScript
The JavaScript is very simple, it is used to resize the image when an action occurs.
When the mouse goes over an image the JavaScript increases the image size and when the mouse moves off the image it sets the image back to its original size.
There is additional JavaScript at the end that hides other elements that draw in bxp software.
3.4 Output
After you have built this document save it as a .html file and open it in a web browser.
It will look something like this.
4 Adding the HTML to an eCourse Asset
Once you are happy with the HTML, go to the eCourse asset you created earlier.
Select the code tab then copy and paste the HTML you just create into the body box.
Click update template.
Once the page saves, look at the URL in your browser, there will be an id at the end of the url, take note of this, you will need it.
5 Adding the Asset to the Main Menu
From the main menu select My Details from the bottom of the page.
Scroll down to the Interface Options and select the Main Menu box.
You will need to change your interface options, eCourse assets need to be place before the number 4.
They are represented as 23-x, x being the id of the asset created.
In our example the id is 60, so it will be 23-60.
In the main menu box enter 17,22,25,7,23-60,4,18,13,19,5,26 replacing the 60 with the id of your asset.
Save the changes and go back to the main menu.
You will now see your HTML on screen inside the bxp software system.


