Bxp Social Media integration setup
It can be confusing with all the screens and settings but following this guide will
ensure all major steps are complete
We will then open up with a checklist for options of managing your social media.
If you need a hand at any time please contact support@allnone.ie
Contents
1 Interactions
2 Implementation - A Staged Approach
There are a number of stages to setting up all the social media interactions. Each step is broken down into building up an element of the interaction.
2.1 Stage 1 – A dedicated email box
It is useful to have a mailbox ready to go that will be the primary driver of all communication. Let’s start with something like socialmedia@allnone.ie
You will need
- Username:
- Password:
- Mail Server:
Create a complicated password on this email address as security will be a concern and it is important to be secure from the start. For the purposes of clarity we will refer to this as password for the remainder of the document.
2.2 Stage 2 – DNS records
In some instances email security will exist, especially if using products like TweetyMail. Setting up a DNS record means adding an MX record to your account for the IP address 82.195.135.134. If bxp sends an email on your behalf you may wish to permit this IP address. This is not essential but advisable.
2.3 Stage 3 – Add an email account to the system to be read
Main Menu > System Access Management > System Management > BEmail Account – Add
This is where you will enter all of the details of the email account to allow bxp go into this account to retrieve your messages.
2.4 Stage 4 – Creating a campaign to send and receive the contact
Main Menu > Database Management > Database – Primary Management > Campaign - Add
Create a campaign in bxp. As part of the “Communications” section set the “Email From” option as the email address. E.g. socialmedia@allnone.ie
- On the next screen, as part of the setup process, question 1 should be a list / menu, with your desired social media types in it. E.g. Facebook, Linked In, Twitter.
- The next questions should be a "BEmail Block". This will create all the fields necessary to receive emails inward into the system
Add as many other fields of information as you like (name, phone, account number, etc.) and then Save the campaign.
On completion add the users. Perform the field mapping to ensure the fields are easy to recognise.
2.5 Stage 5 – Allow your campaign retrieve the emails
Main Menu > Database Management > Database – Primary Management > Campaign - Edit
Edit the campaign you just created.
Open the Advanced Options
- Record Move Next Bar should be set to True, while testing
- Open the Inbox Management section.
- BEmail Account: Choose the account you just set up in step 4 from the drop down list
- DateTime field: Choose the BEmail Date Time
- Continue this pattern up to the Body field
- Attachments as CCLS: True, this will save documents and attachments to the contact history
2.6 Stage 6 – Setting up Linked In
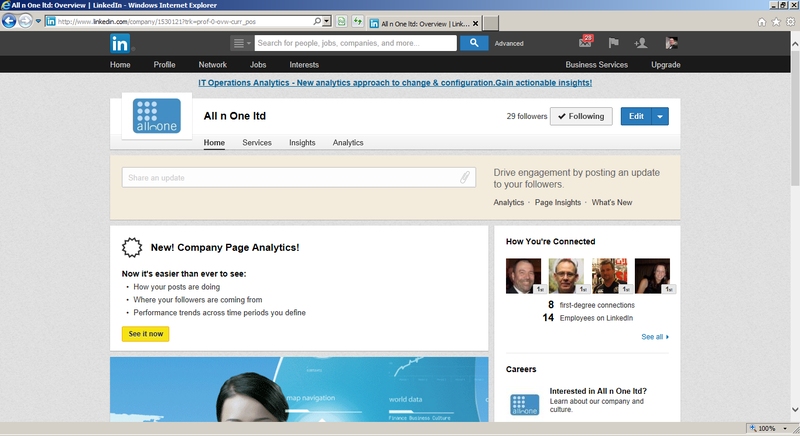
Create a Linked In account using the socialmedia email address as the primary contact email address.
A confirmation email will be sent to confirm the email address.
http://www.linkedin.com using the Join Now box.
To retrieve the confirmation email,
Main Menu > Database Management > Database – Primary Management > Campaign – Retrieve Email-2-Campaign
This has now retrieved the email into the campaign. Click the “See last retrieved email.” link on the screen to view the 1 email retrieved.
You should be able to get the confirmation email address from the body of the email displayed.
Complete the setup of the LinkedIn account.
2.7 Stage 7 – Setting up Facebook
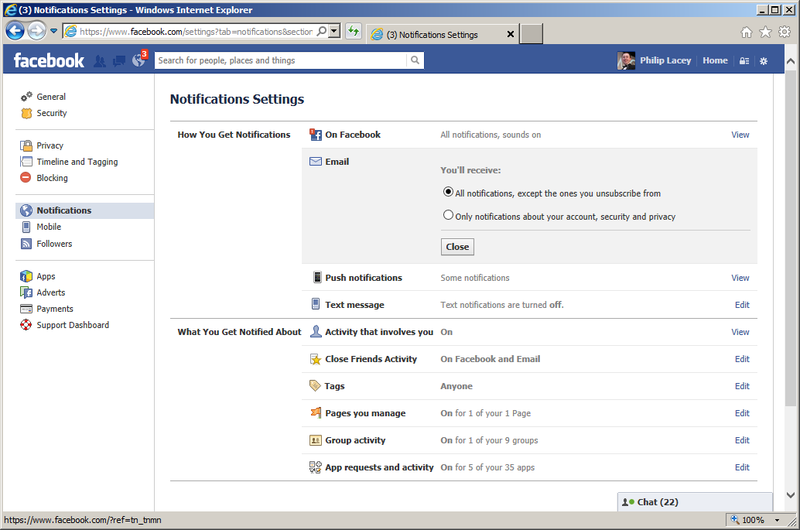
Create a Facebook account using the socialmedia address as the primary contact email address. Follow the steps in stage 6, to confirm the email address for the account.
https://www.facebook.com/ and use the Sign Up box
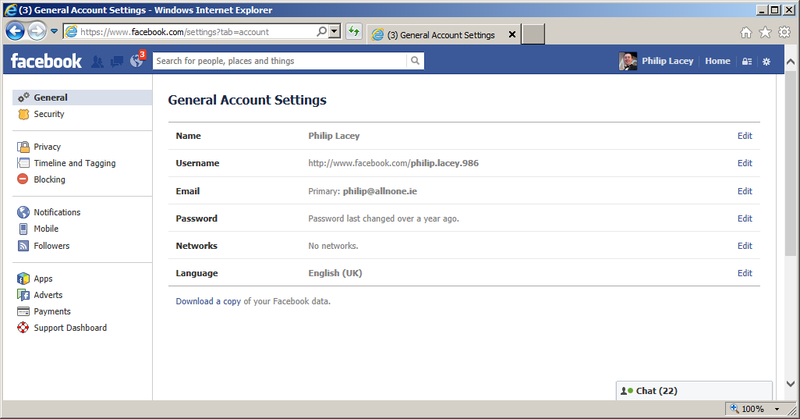
You will need the Facebook secret email address for this account, as set up by following
http://www.facebook.com/help/210153612350847/
Note this Facebook Secret email address.
2.8 Stage 8 – Setting up Twitter
Create a Twitter account using the socialmedia address as the primary contact email address. Follow the steps in stage 6, to confirm the email address for the account.
2.9 Stage 9 – Setting up TweetyMail
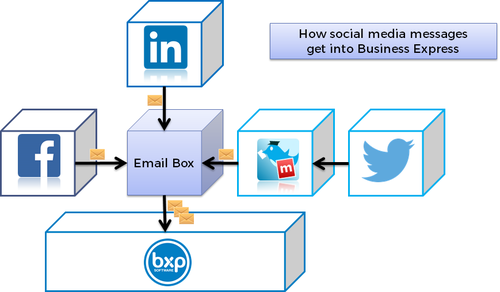
TweetyMail converts tweets to and from email. From the homepage click “Sign up for FREE access”. Put in your socialmedia email address and password you used on your twitter account. http://tweetymail.com/
The system will also need to send a verification email. Follow the steps in Stage 6 to confirm the setup. If you have not set up stage 2, on the home page of your tweetymail account click settings beside your socialmedia@allnone.ie (primary) line.
In here untick “Enable Verification”.
2.10 Stage 10 – Filling back in your configurations
You are now ready to send and receive social media from a campaign but two settings now need to be filled in.
Main Menu > Database Management > Database – Question Management > Question - Add
You need to add three
- TweetyMail
- Facebook Secret
- Twitter Address
When adding the TweetMail text box, in the data box on the right hand side, fill into the Initial Value tweet@tweetymail.com as the Initial Value
When adding the Facebook Secret text box, in the data box on the right hand side, fill into the Initial Value the secret facebook email address you received in stage 7, as the Initial Value
2.11 Stage 11 – Create the outcomes
Main Menu > Database Management > Database – Outcome Manager > Add an Outcome
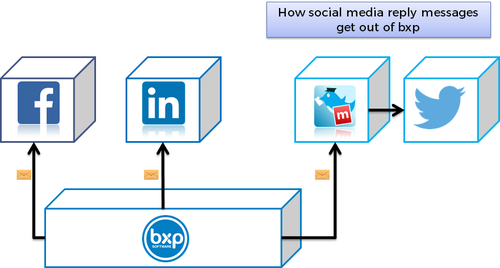
Outcomes will do the sending. There should be three outcomes.
- Reply to Facebook
- Reply to LinkedIn
- Reply to Tweet
2.11.1 Reply to Facebook
The only config changes we suggest are:
- External Communications >
- To Field = BEmail From
- External Subject = RE: --strCDA_X_field_4_1—
- External Body = --strCDA_X_Comments--
- BEmail From is the
- --strCDA_X_field_4_1— is the Subject Field of the “BEmail Subject”
- --strCDA_X_Comments-- are all the comments that user types into the comments box
2.11.2 Reply to LinkedIn
The only config changes we suggest are:
- External Communications >
- To Field = BEmail From
- External Subject = RE: --strCDA_X_field_4_1—
- External Body = --strCDA_X_Comments--
- --strCDA_X_field_4_1— is the Subject Field of the “BEmail Subject”
- --strCDA_X_Comments-- are all the comments that user types into the comments box
2.11.3 Reply to Tweet
The only config changes we suggest are:
- External Communications >
- To Field = TweetyMail
- External Subject = RE: --strCDA_X_Comments--
TweetyMail is a setting which will be configured in a future step
--strCDA_X_Comments-- are all the comments that user types into the comments box
2.12 Stage 12 – Retrieving data from content on arrival
Main Menu > Database Management > Database – Primary Management > Campaign - Edit
bxp adds a number of intelligent filters on the incoming content to extract data and fill it directly into the data fields. It also allows conversations to continue without creating new cases for each interaction.
- Attempt matching: True, this will attempt to continue conversations if a match is found
- Field to match on: Which field contains the Twitter Address you set up in Stage 3
- Match pattern: Enter @--ID--
2.13 Stage 13 – Report management
There are an extensive number of reports available for social media. These are available through the social media dashboard.
There is a specific Social Media dashboard report.
These are added using
Main Menu > Control Bar > Personal Links > Dashboard – Add private link
Change the Dashboard item to Social Media Dashboard and in Campaign, choose the Social Media campaign you’ve create. Click “Create Control Bar” and then “Create the Link”. This will give you a new icon on your desktop in which you can access the social media reports.
2.14 Stage 14 – Go Live!
It is important for staff to realise the ramifications of their replies and interactions with the customer. Appropriate social interaction training should be delivered and tested before full scale go live.
All n One have numerous resources which can be considered as well as Quality Assurance programs which can substantially improve the delivery of your social media programs.
3 Short hand Notes
http://thesocialmediaguide.com/
3.1 Twitter Integration
Send twitter to @AllnOneNews
Read posted tweets https://twitter.com/allnonenews
3.2 Facebook Integration
Post to Facebook http://www.facebook.com/help/210153612350847/
Read results http://www.facebook.com/philip.lacey.986
Get conversations from Facebook http://www.slideshare.net/matthewtommasi/how-to-reply-to-facebook-comments-via-email
Continue conversation on Facebook http://blog.facebook.com/blog.php?post=206480947130
3.3 Linked In
Configure email account to send to your mailbox.
4 Security Check sheet
Please ensure you record all the details as you go along.
Email Account – Stage 1
- Email Address _____________________________________
- Username _____________________________________
- Password _____________________________________
- Mail Server _____________________________________
Facebook – Stage 7
- Username _____________________________________
- Password _____________________________________
- Email _____________________________________
- URL _____________________________________
- Secret Email _____________________________________
Linked In – Stage 6
- Username _____________________________________
- Password _____________________________________
- Email _____________________________________
- URL _____________________________________
Twitter – Stage 8
- TwitterName _____________________________________
- Username _____________________________________
- Password _____________________________________
TweetyMail – Stage 9
- Username _____________________________________
- Password _____________________________________


